How to Compress Videos for Website Performance Without Losing Quality
Videos are a fantastic way to engage visitors on your website, whether it’s a blog, a business platform, or an e-commerce site like Shopify. However, large video files can significantly slow down your site, leading to poor user experience and negatively affecting your SEO.
If you're looking for fast effective video for your website, particularly if you have multiple videos on a page, you should consider using Clipara. Clipara automatically compresses your videos into various sizes, optimal for different devices and also handles all of the technical aspects of not loading videos until they're interacted with, keeping your pages lightning fast. We'll provide some more detail on how Clipara works later on. In the mean time, we'll dive into the importance of fast videos and how you can compress them yourself.
Why Compress Videos?
Uncompressed videos can cause several issues:
- Slow Page Load Times: Large files take longer to load, causing visitors to leave your site before it fully loads, costing you potential revenue.
- SEO Impact: Google prioritises fast-loading sites. Compressing videos can improve load times and boost your rankings.
- Mobile Optimisation: Compressed files perform better on mobile devices, which is crucial since most users access websites via mobile.
Pro Tip: Studies have found that 57% of mobile users leave a site that takes longer than 3 seconds to load. Compressing your videos is a critical step to avoid losing potential visitors.
Steps to Compress Videos Without Losing Quality
Choose the Right File Format
- MP4 (H.264 or HEVC): Offers excellent compression and quality balance. It’s widely compatible across browsers and devices.
- WebM: A great alternative for web use, providing smaller file sizes while maintaining high visual quality.

Adjust the Resolution and Bitrate
- Resolution: For most websites, 1080p or even 720p is enough to keep quality high while reducing file size.
- Bitrate: Reducing the bitrate (keeping it within 2,500-5,000 kbps) can compress the video without significantly affecting quality.
Trim Unnecessary Sections
- Cut Extra Footage: Focus on the most important content. Removing irrelevant sections reduces file size and keeps viewers engaged.
- Highlight Key Moments: This keeps your content concise and improves viewer retention while optimising file size.
Use Compression Tools
1. HandBrake
An open-source video compressor that provides extensive control over compression settings and supports almost all video formats.
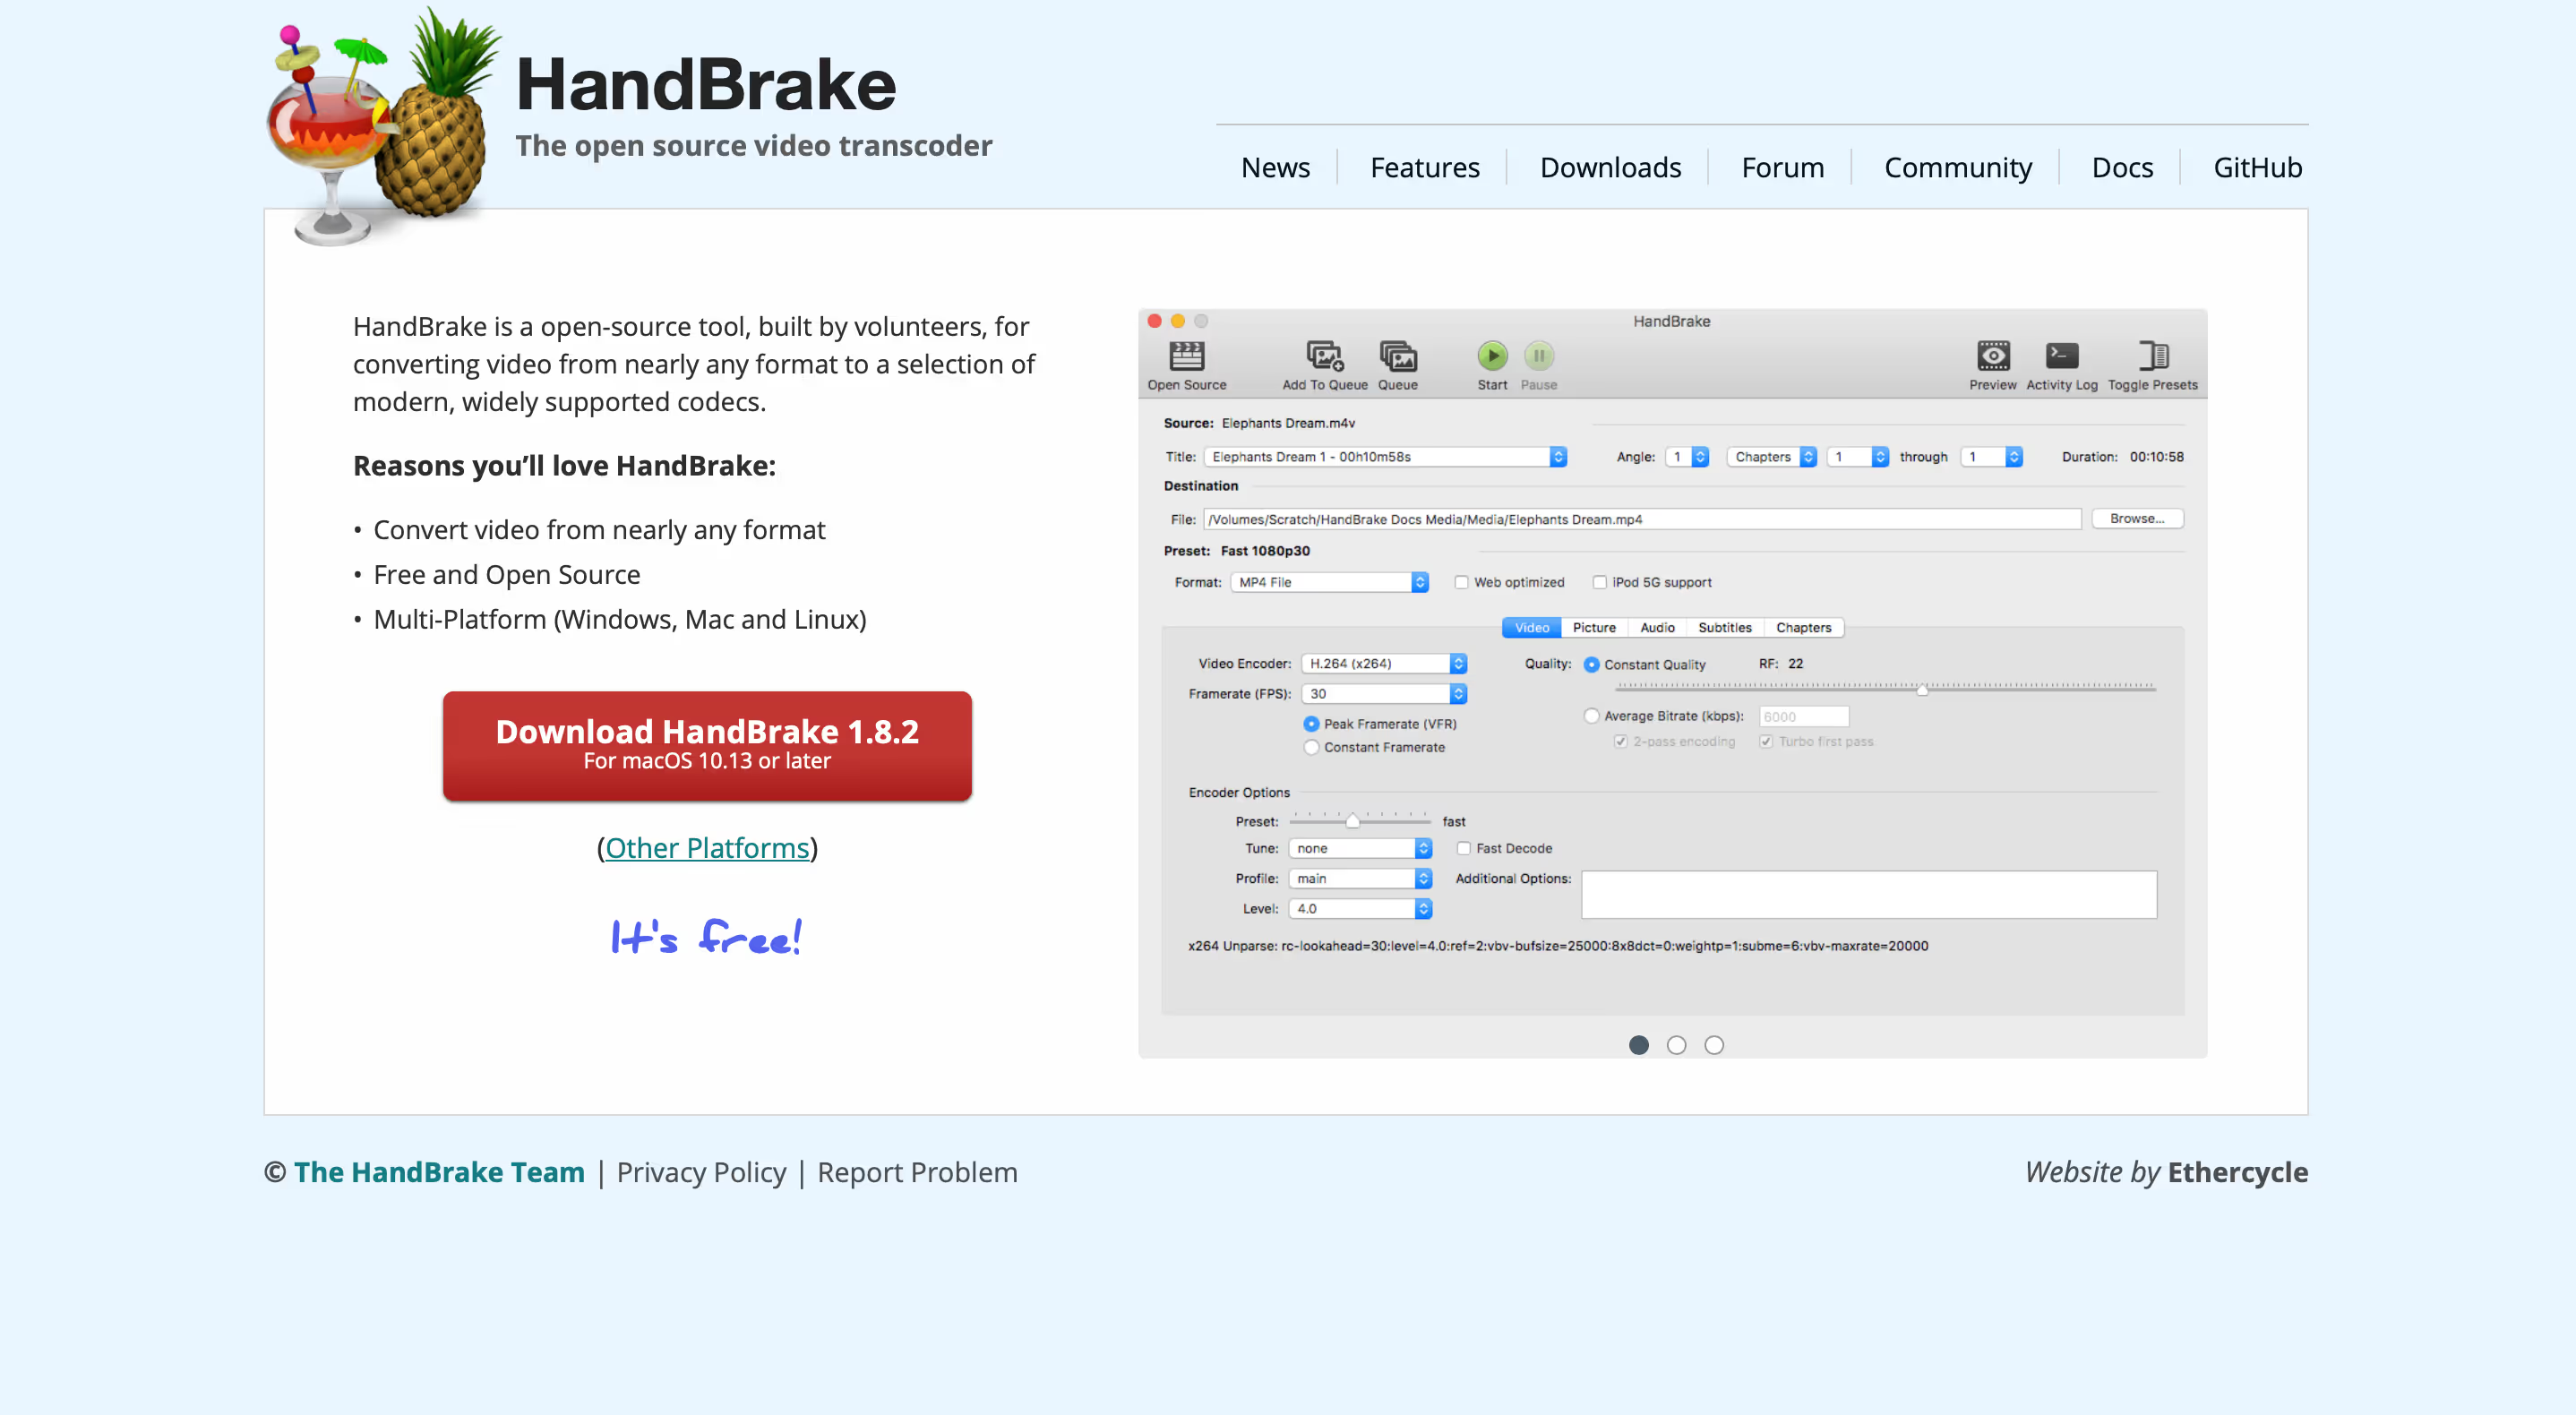
Platform: Windows, macOS, Linux
Best For: Beginners and advanced users alike
Pros:
- Free and open-source tool offering comprehensive compression features.
- Pre-configured settings (presets) for popular platforms like YouTube and Vimeo.
- Supports batch processing, so you can compress multiple videos simultaneously.
Cons:
- The interface can be overwhelming for first-time users.
- Advanced options may require a learning curve to utilise fully.
How to Use:
- Import the video file into HandBrake.
- Choose a preset like “Web Optimised” for general web use.
- Adjust the resolution and bitrate based on your needs.
- Export the compressed video.
Pro Tip: Use HandBrake’s "Constant Quality" setting (RF) to maintain consistent video quality while reducing file size.
2. Clipchamp
An online video compressor that offers quick and easy compression directly in your browser, complete with basic editing tools.

Platform: Online
Best For: Quick, browser-based compression
Pros:
- Easy to use with pre-set resolutions and aspect ratios for various platforms.
- Integrated editing features such as trimming, cropping, and adding filters before compression.
- Direct exports to YouTube, Google Drive, and social media.
Cons:
- The free version limits video exports to lower resolutions.
- Advanced features and higher resolutions require a paid subscription.
How to Use:
- Upload the video file to Clipchamp.
- Choose the resolution and file size parameters.
- Utilise editing tools if needed (e.g., trim the video or add effects).
- Export the compressed video in your desired format.
Pro Tip: Clipchamp’s free version supports basic compression, but for higher resolution and advanced features, upgrading to a paid plan may be necessary.
3. Adobe Media Encoder
A professional-grade compression tool designed for advanced users, perfect for those already familiar with Adobe’s suite of tools.
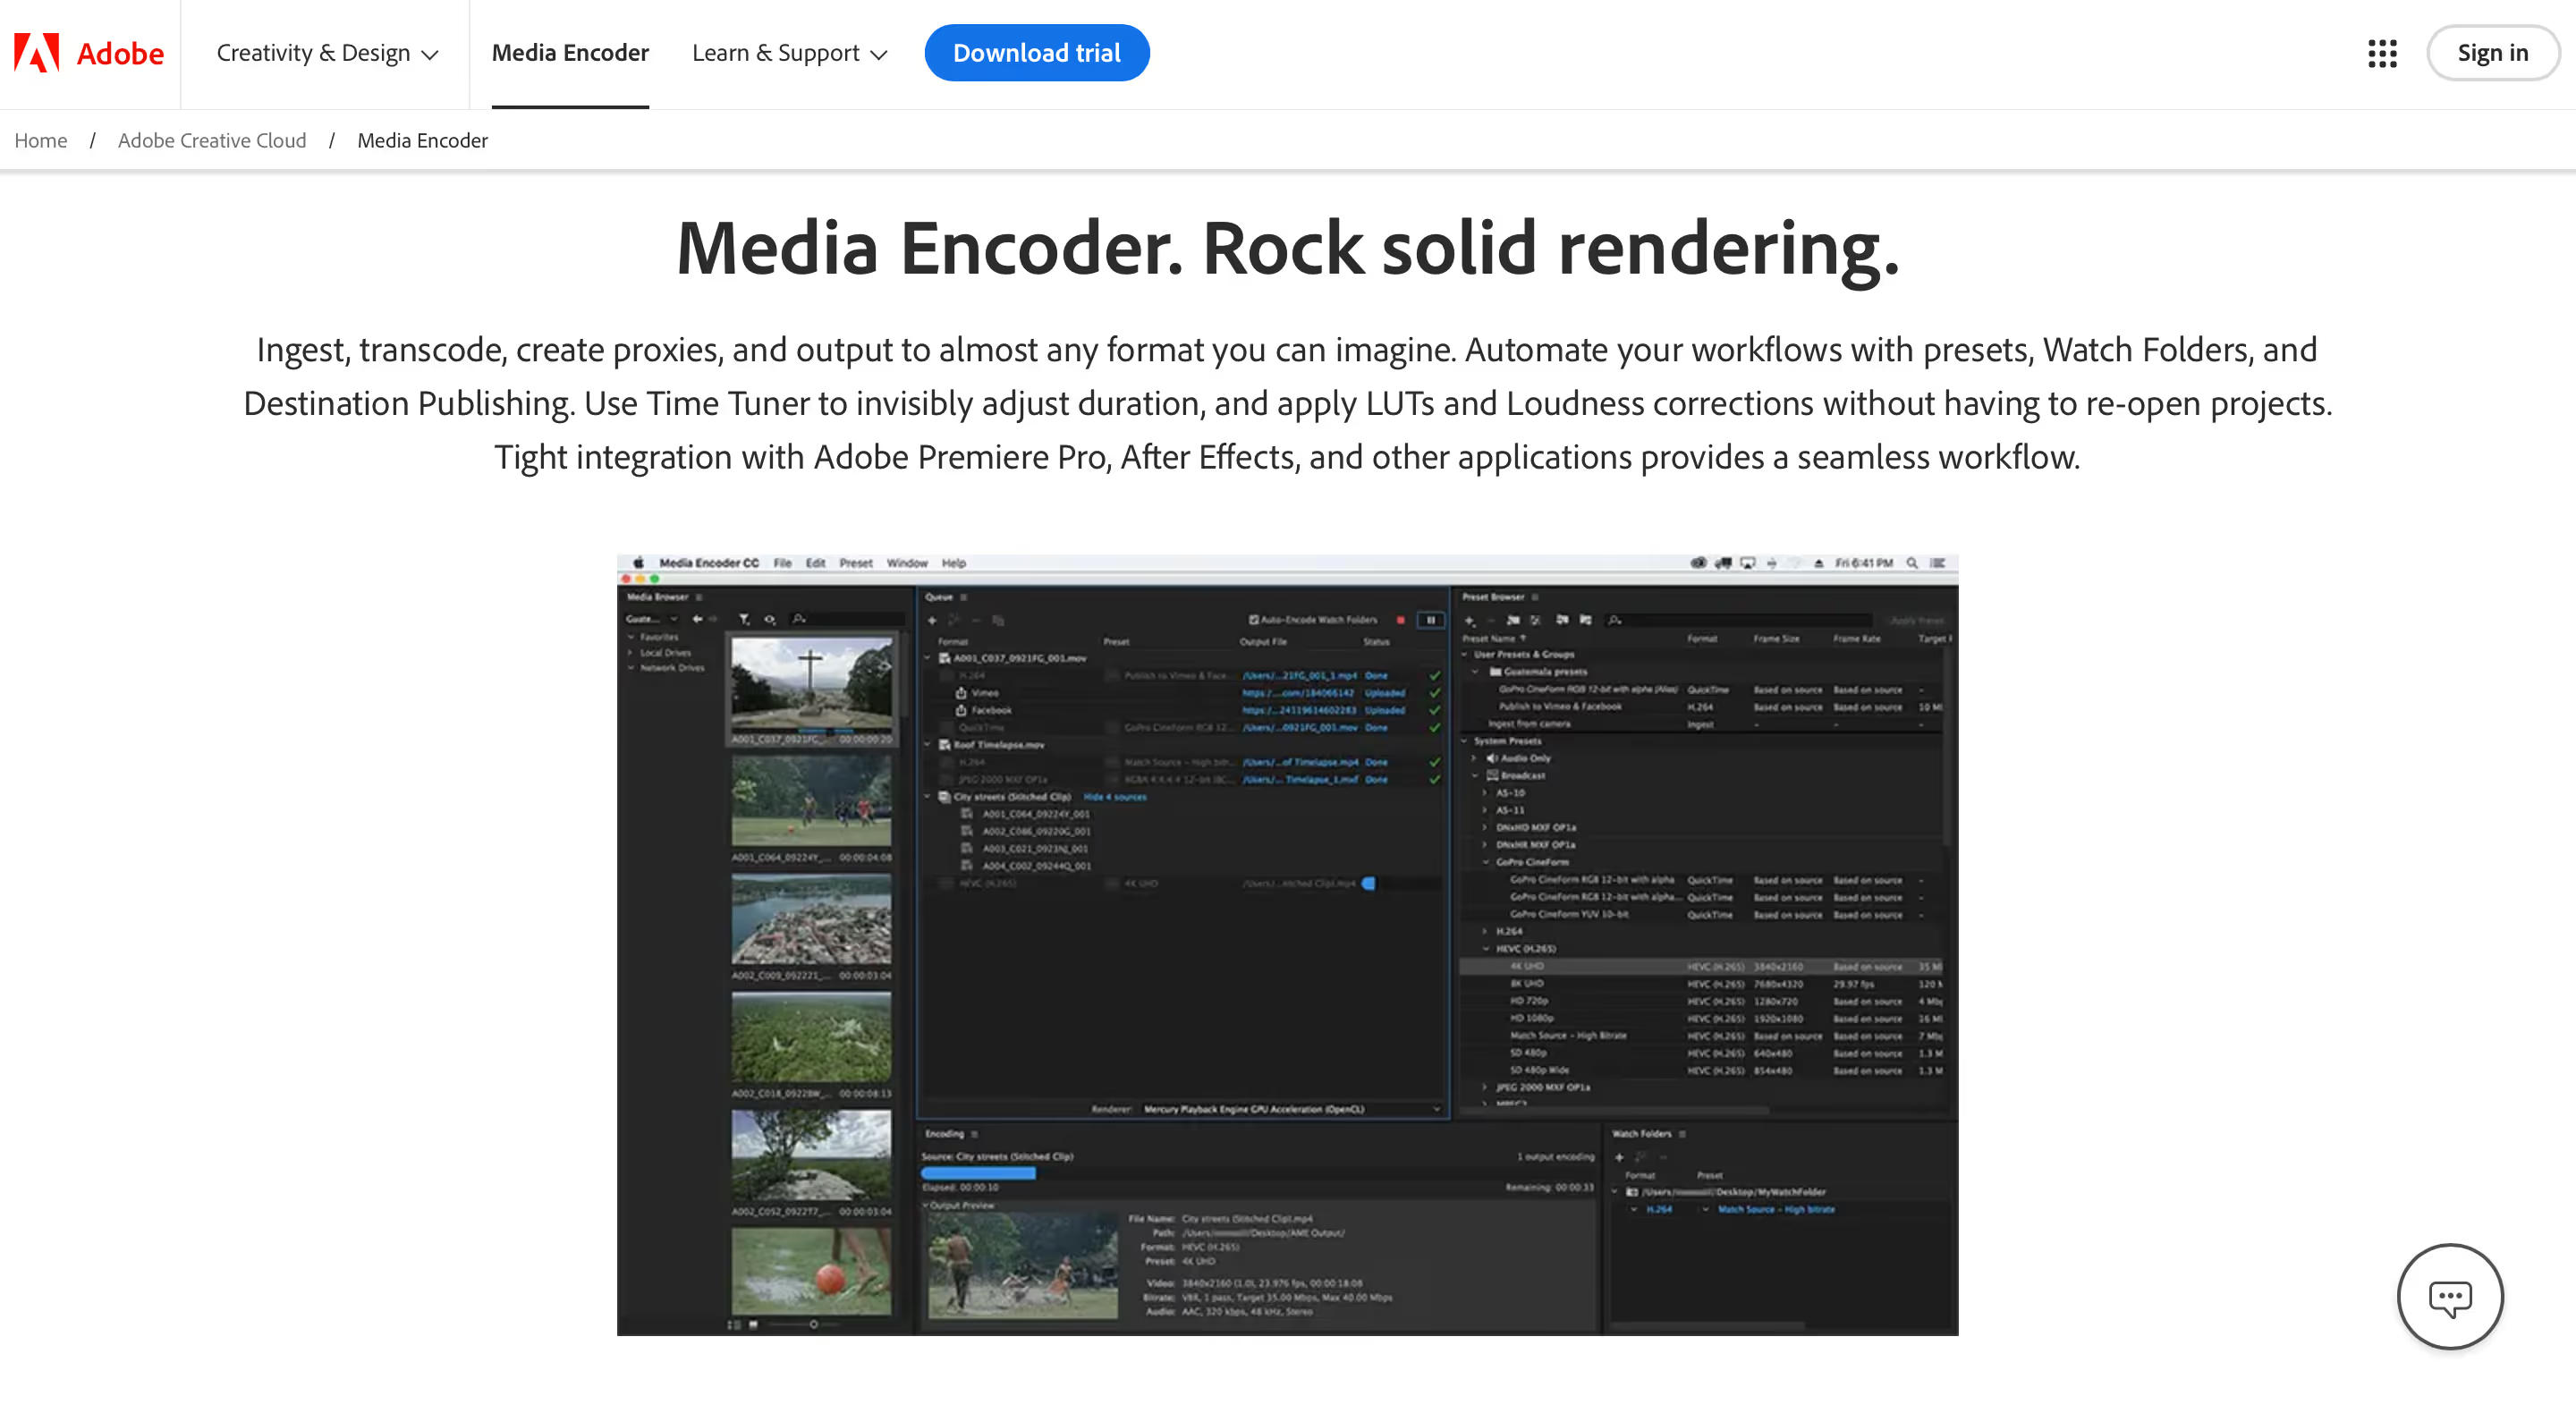
Platform: Windows, macOS
Best For: Professional users looking for advanced control
Pros:
- Deep integration with Adobe’s Creative Cloud suite, enhancing workflow efficiency.
- Precise control over codecs, bitrate settings, and other parameters.
- Supports batch processing for efficient compression of multiple files.
Cons:
- Expensive subscription model as part of Adobe Creative Cloud.
- Complex interface, which may be challenging for those unfamiliar with professional editing software.
How to Use:
- Import your video into Adobe Media Encoder.
- Select a preset based on your platform (e.g., "1080p for Web").
- Customise bitrate settings for optimal quality and file size balance.
- Export the video to your desired format.
Pro Tip: Use Adobe Media Encoder’s hardware acceleration option if you have a compatible GPU to speed up the compression process.
4. FFmpeg
A command-line-based tool for advanced users that provides maximum flexibility and customisation over video compression settings.
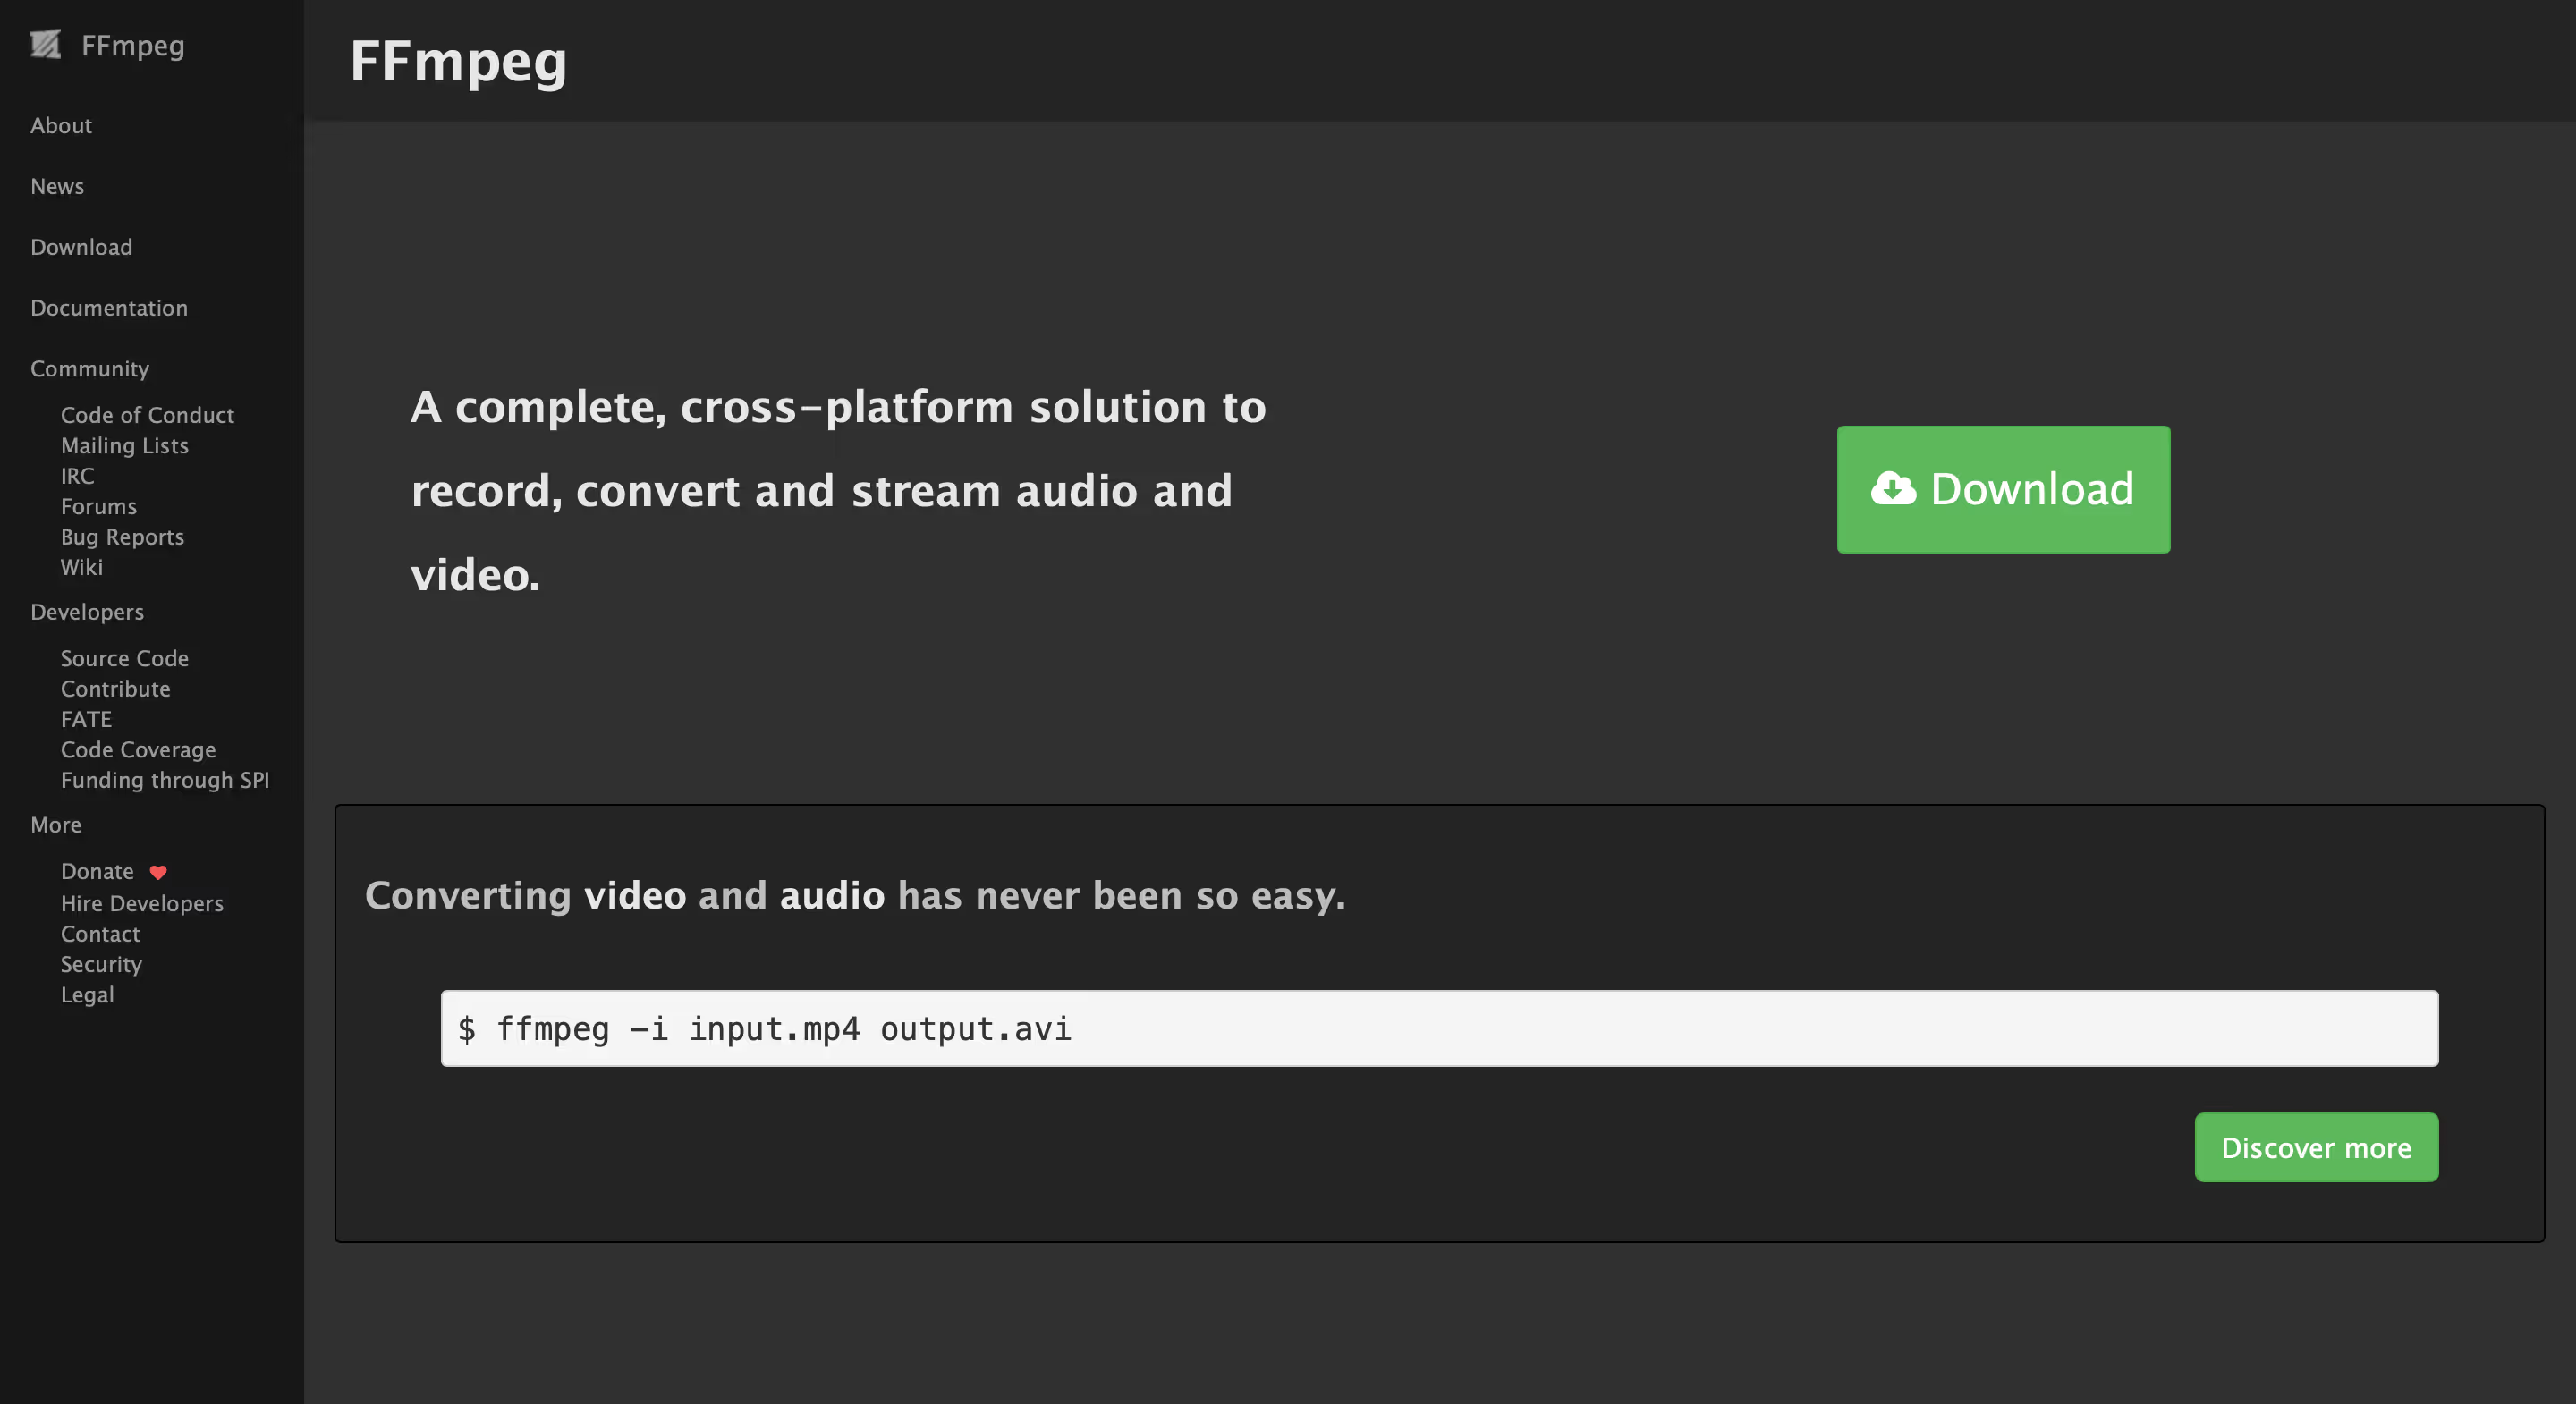
Platform: Windows, macOS, Linux
Best For: Advanced users familiar with command-line interfaces
Pros:
- Highly customisable, providing maximum flexibility over compression settings and formats.
- Free and open-source with support for almost any video and audio format.
- Automation via scripts, enabling bulk video processing.Cons:
- Steep learning curve due to command-line usage.
- Lack of a graphical user interface may deter users who prefer visual tools.
How to Use:
- Install FFmpeg on your system.
- Open the command line and enter a command like:
ffmpeg -i input.mp4 -vcodec libx265 -crf 28 output.mp4(This reduces the video size using the H.265 codec while maintaining quality.) - Modify parameters to adjust resolution, bitrate, and other settings as needed.
Pro Tip: Experiment with the CRF (Constant Rate Factor) value to find a balance between quality and file size. Lower values yield higher quality.
These tools allow you to compress videos efficiently. Each tool has its strengths and drawbacks. But even with optimised compression, directly embedding videos can still slow down your website due to server load, buffering issues, and lack of mobile optimisation.
Create seamless video experiences without code with Clipara.
Start using Clipara for free and create video experiences that delight your customers.
Get started freeWhy Direct Embedding Can Still Slow Down Your Site
Even after compressing your videos, directly embedding them can still be problematic:
- Heavy Server Load: Hosting videos directly on your server increases load times, especially during traffic spikes.
- Lack of Optimisation for Mobile Devices: Direct embeds may not automatically adjust for mobile or low-speed connections, resulting in a poor user experience.
- Buffering Issues: Self-hosted videos can suffer from inconsistent playback and buffering.
You don’t need to worry about all of that with Clipara because we do it all for you! With Clipara, videos are hosted externally, streaming to your site only when interacted with. This means no delays in page loading, and your content remains fast and responsive, giving visitors a seamless experience every time. The platform automatically detects devices and network speed, adjusting the video quality for the best possible experience.
Leveraging Clipara for Optimised Video Experiences
Clipara provides a streamlined solution for managing and displaying compressed video content without sacrificing performance. Here’s how Clipara works for different types of websites:
Performance-Focused Hosting
- Clipara hosts videos externally, reducing server load and ensuring your site remains quick and responsive, even with multiple videos displayed.
Adaptable for Any Website Type:
- E-commerce (Shopify): Use shoppable videos, where customers can add products directly to their cart without leaving the video.
- Business Websites: Add interactive grids and carousels that match your brand, creating engaging, professional experiences.
- Blogs and Portfolios: Easily incorporate video galleries that look sleek and load quickly, enhancing content without slowing down page speed.
Real-World Impact: Businesses using Clipara have reported immediate results after integrating its video collections. One client mentioned that they completely replaced Vimeo with Clipara, noting that the format is significantly more engaging and flexible than traditional video providers. This transition has greatly enhanced their ability to connect with customers and promote products effectively.

Automatic Device Optimisation:
- Clipara automatically detects the user’s device and connection speed, adjusting the video resolution and quality to ensure a seamless experience for every visitor, whether on desktop or mobile.
How to Add Videos with Clipara
Here’s how you can use Clipara to seamlessly add engaging videos to your site:
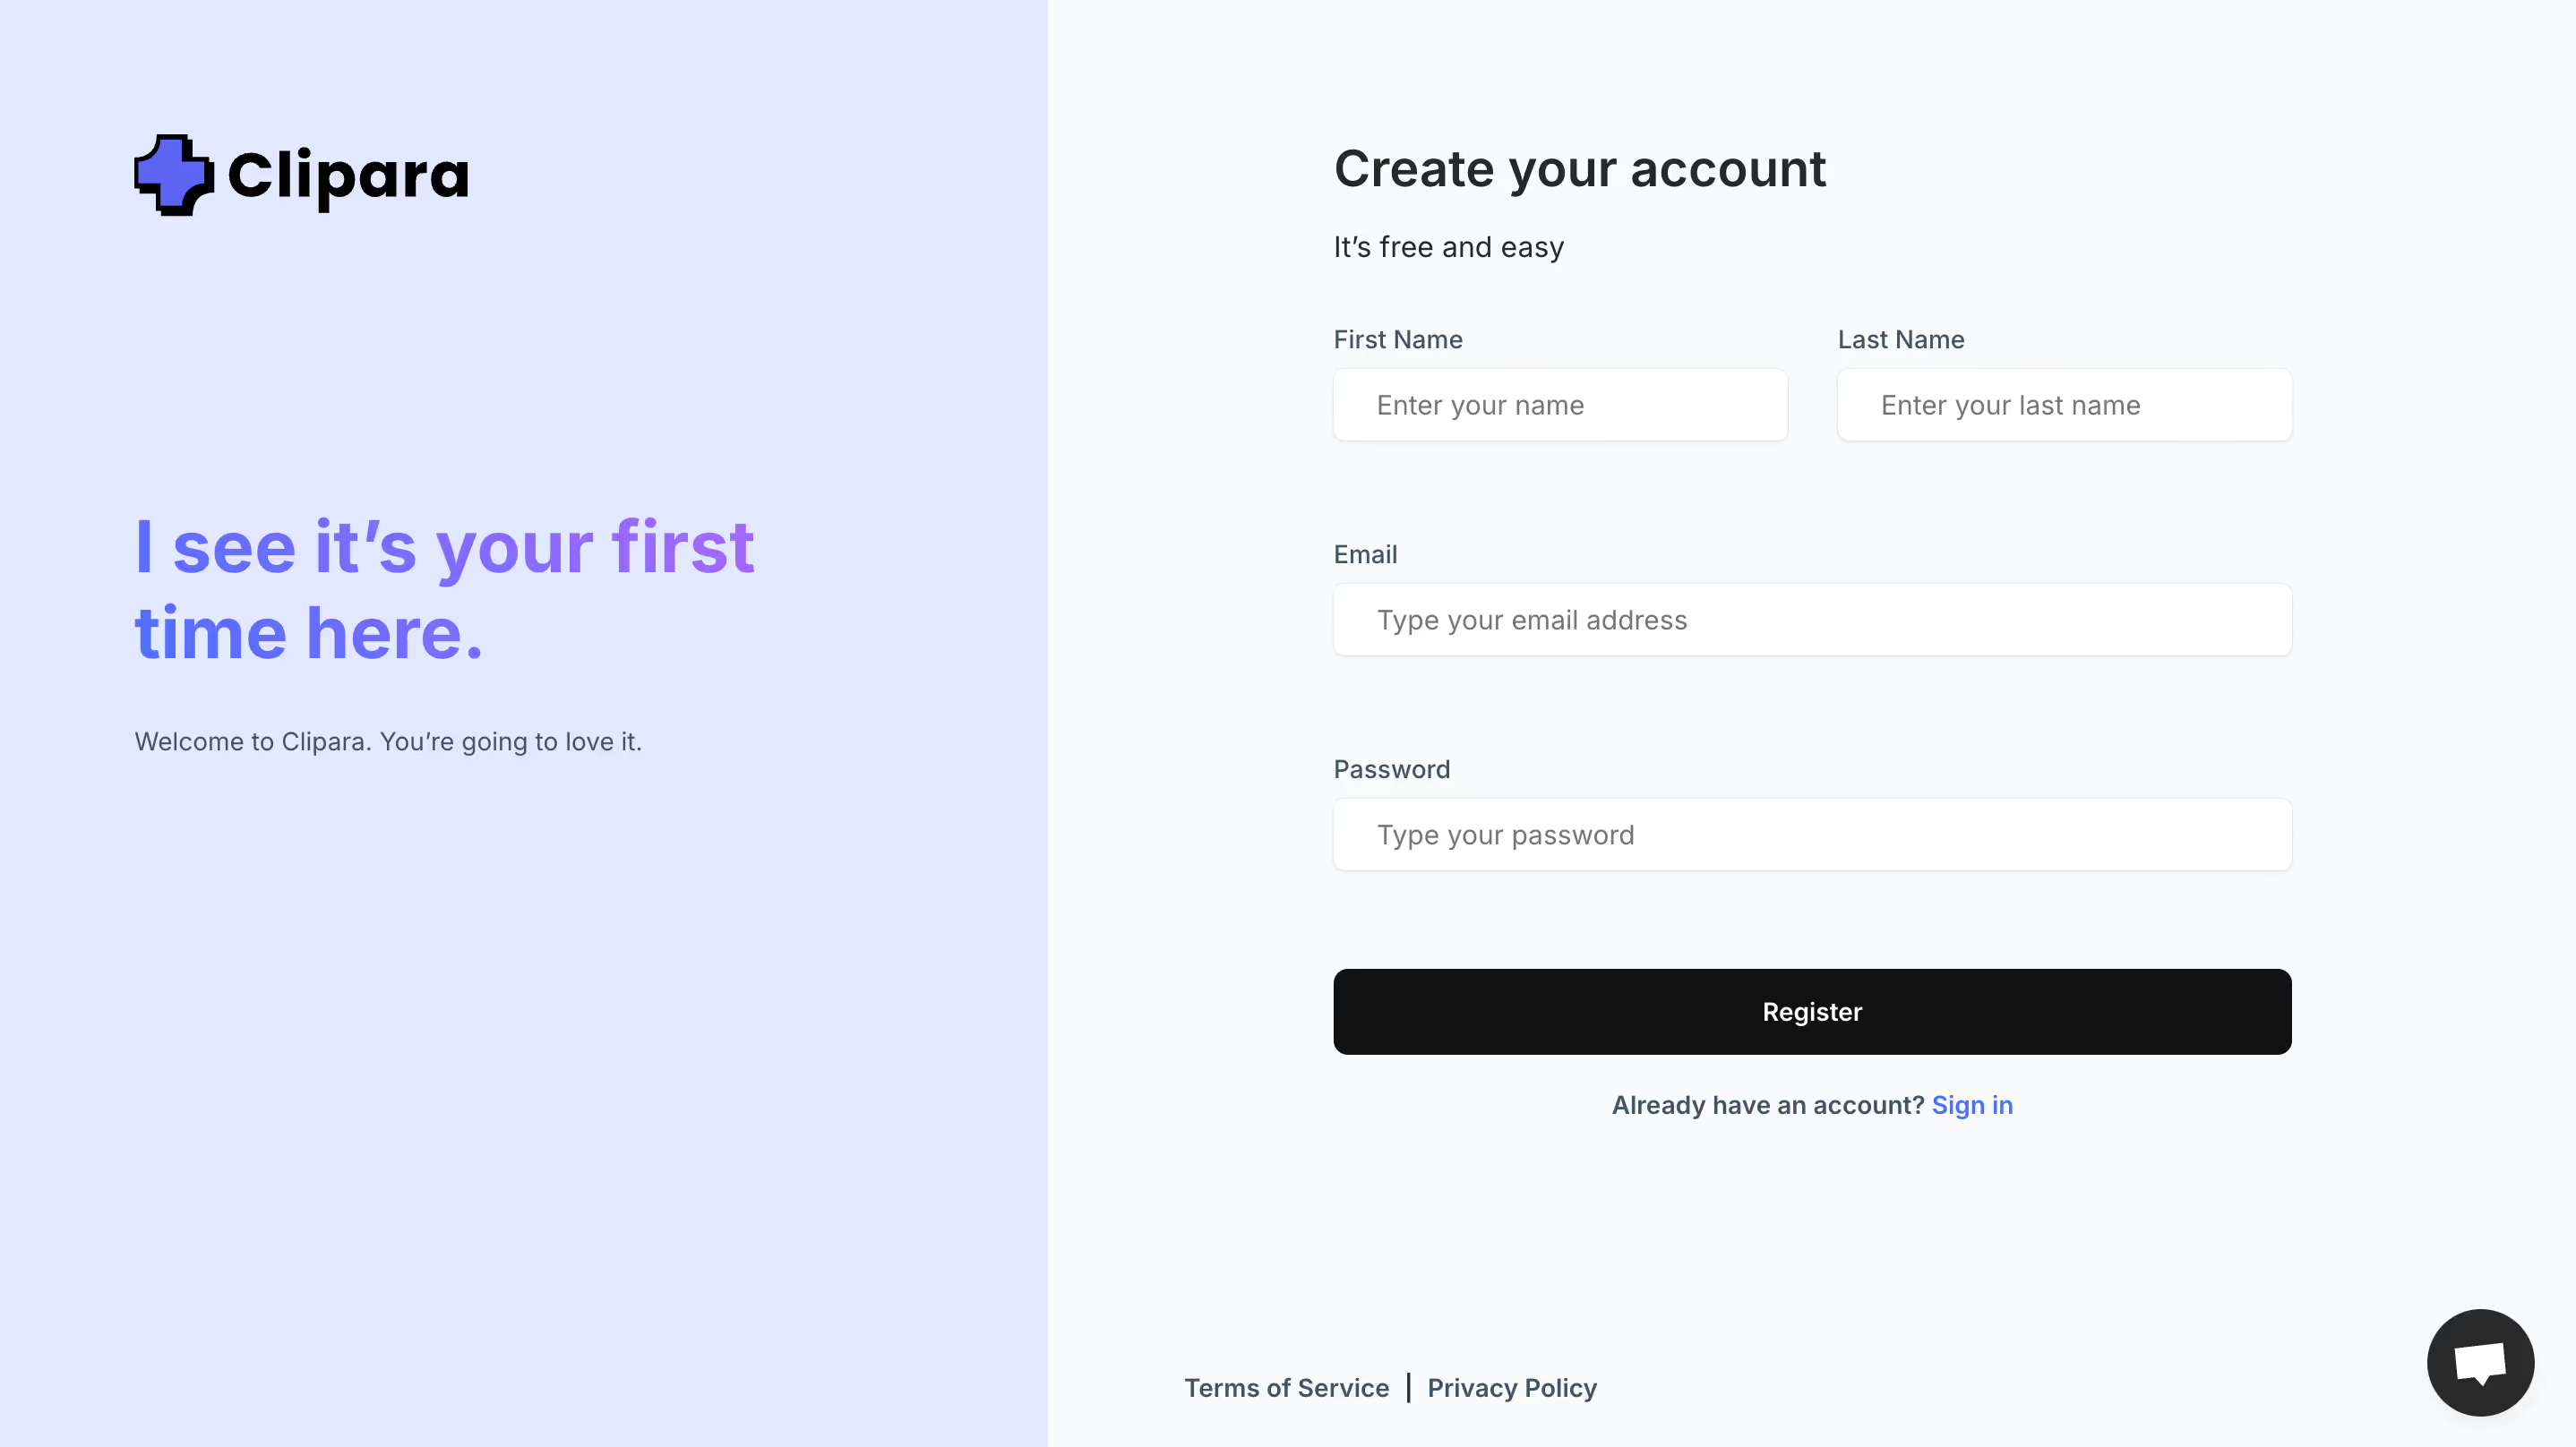
1. Create a Clipara Account: If you’re using Shopify, you can quickly install Clipara from the Shopify App Store. For other website platforms, sign up on Clipara’s website and follow the setup instructions.
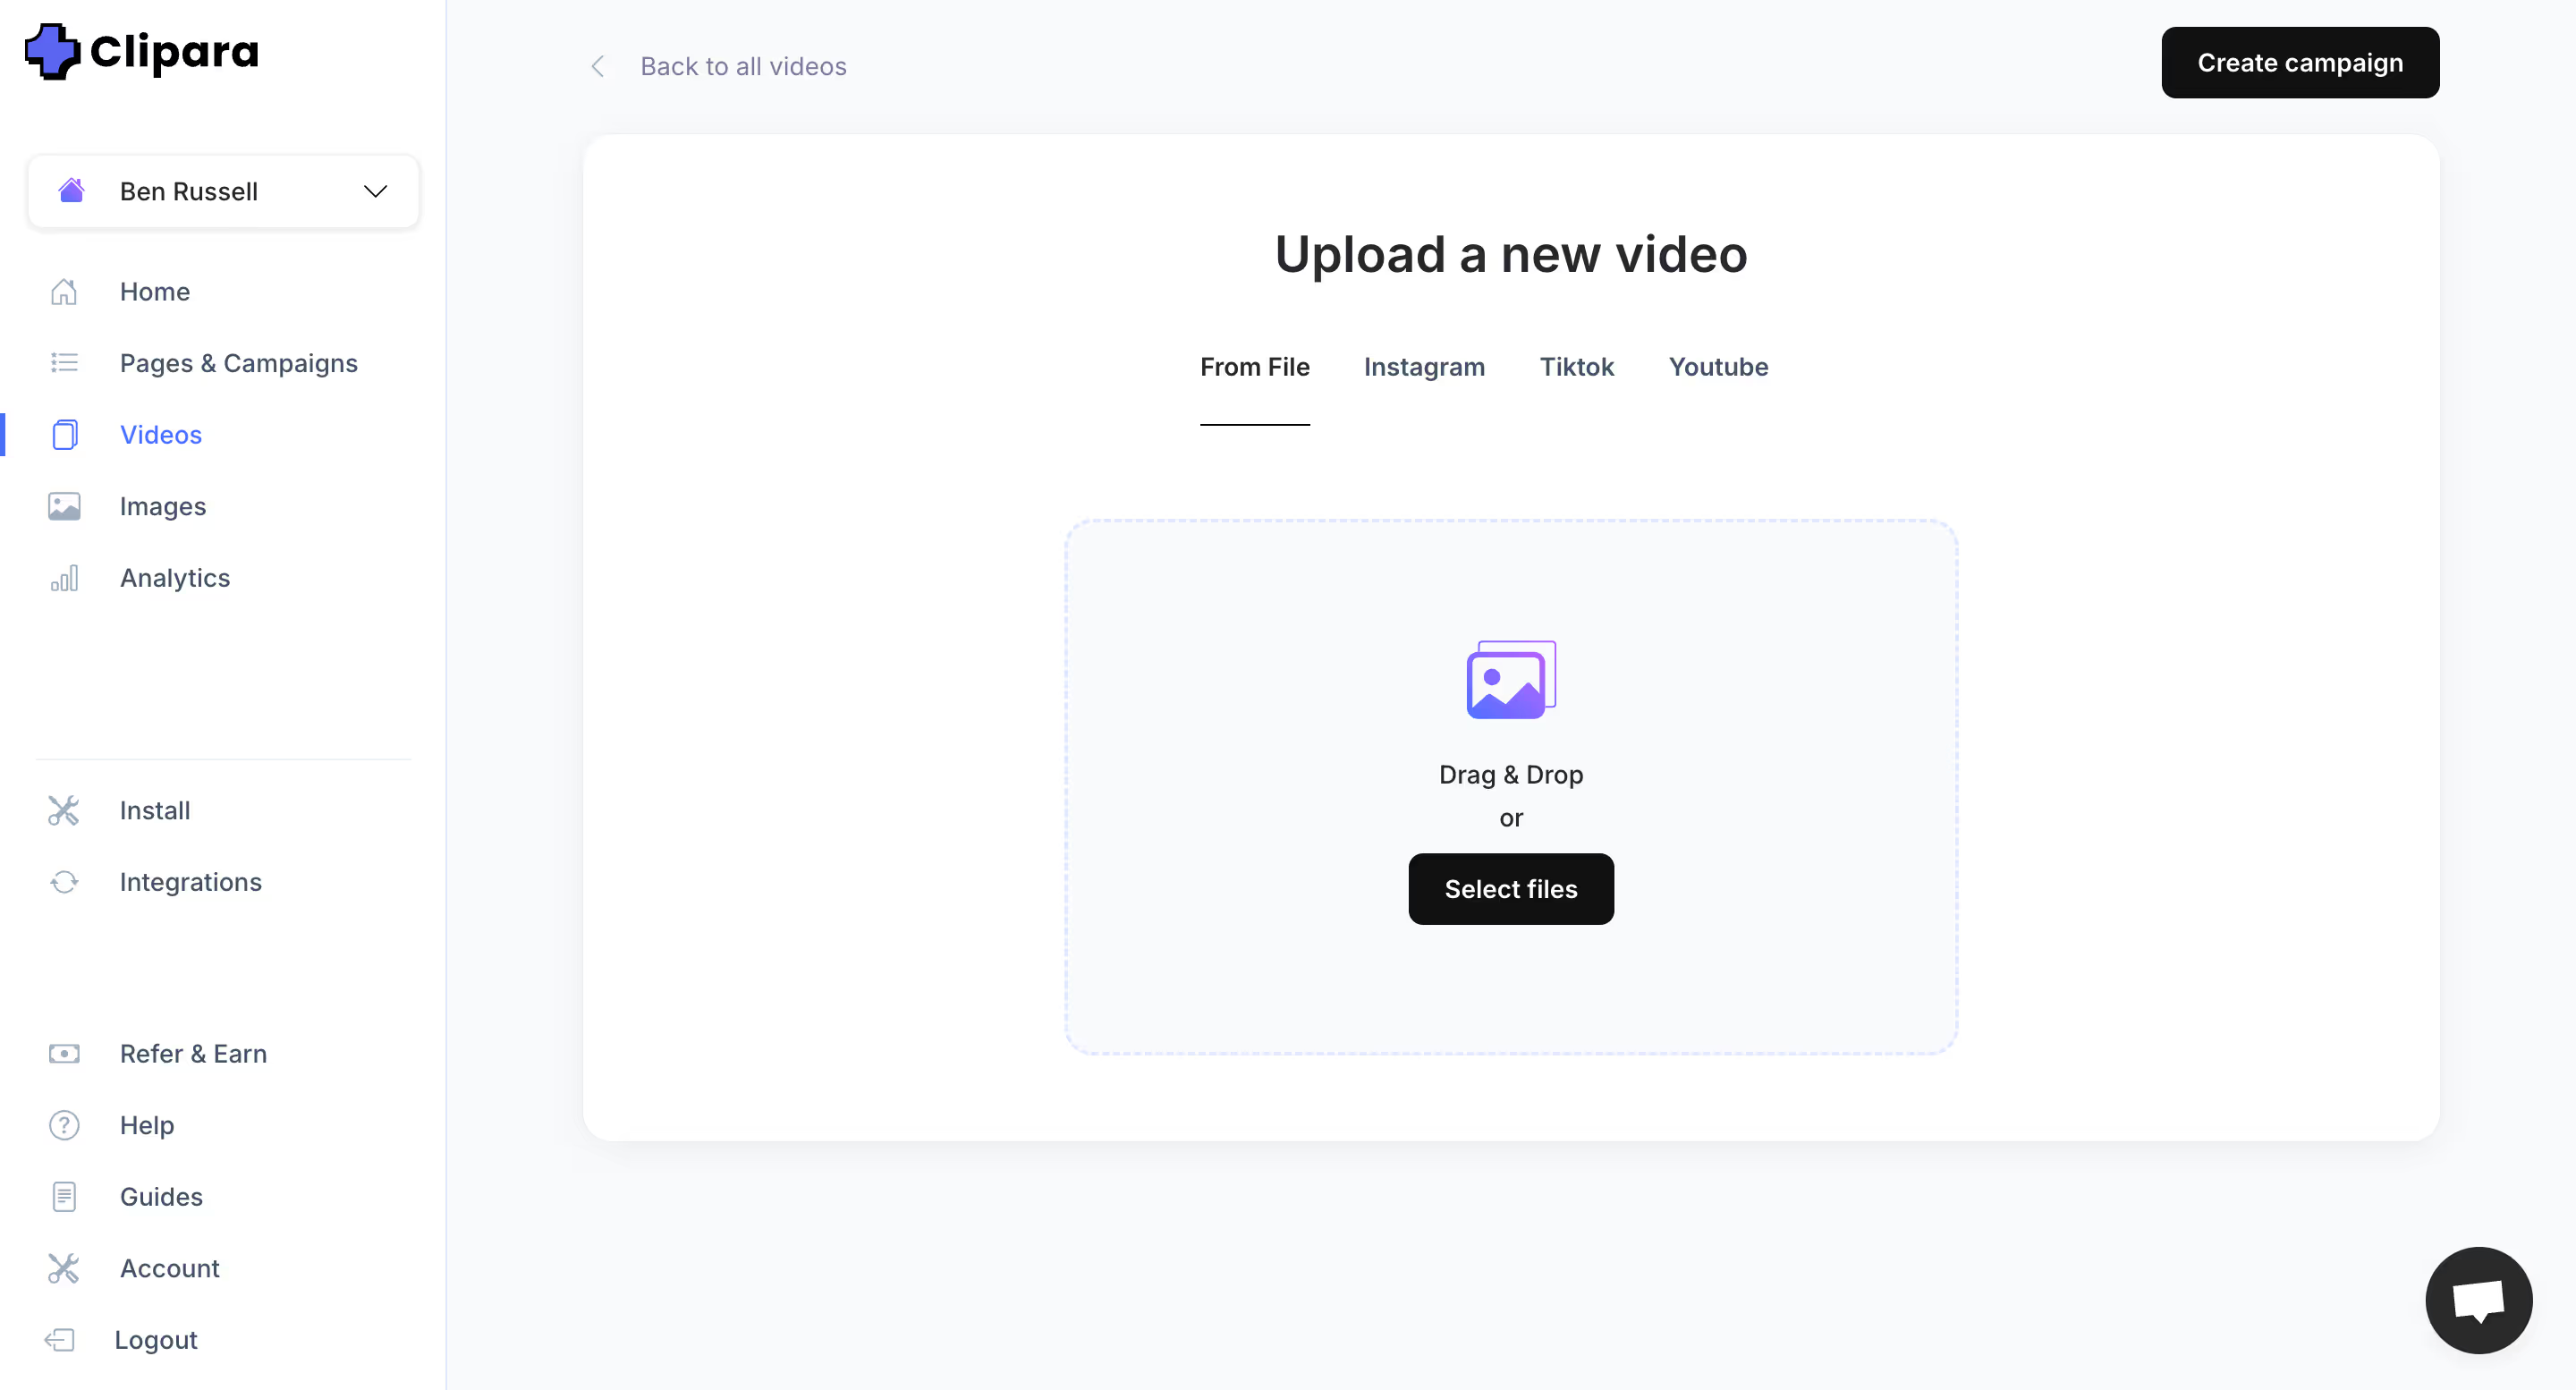
2. Upload or Import Videos: Clipara allows you to either upload videos directly or import them from social platforms like TikTok, Instagram, or YouTube. This flexibility helps you showcase content you’ve already created or curated from your community.
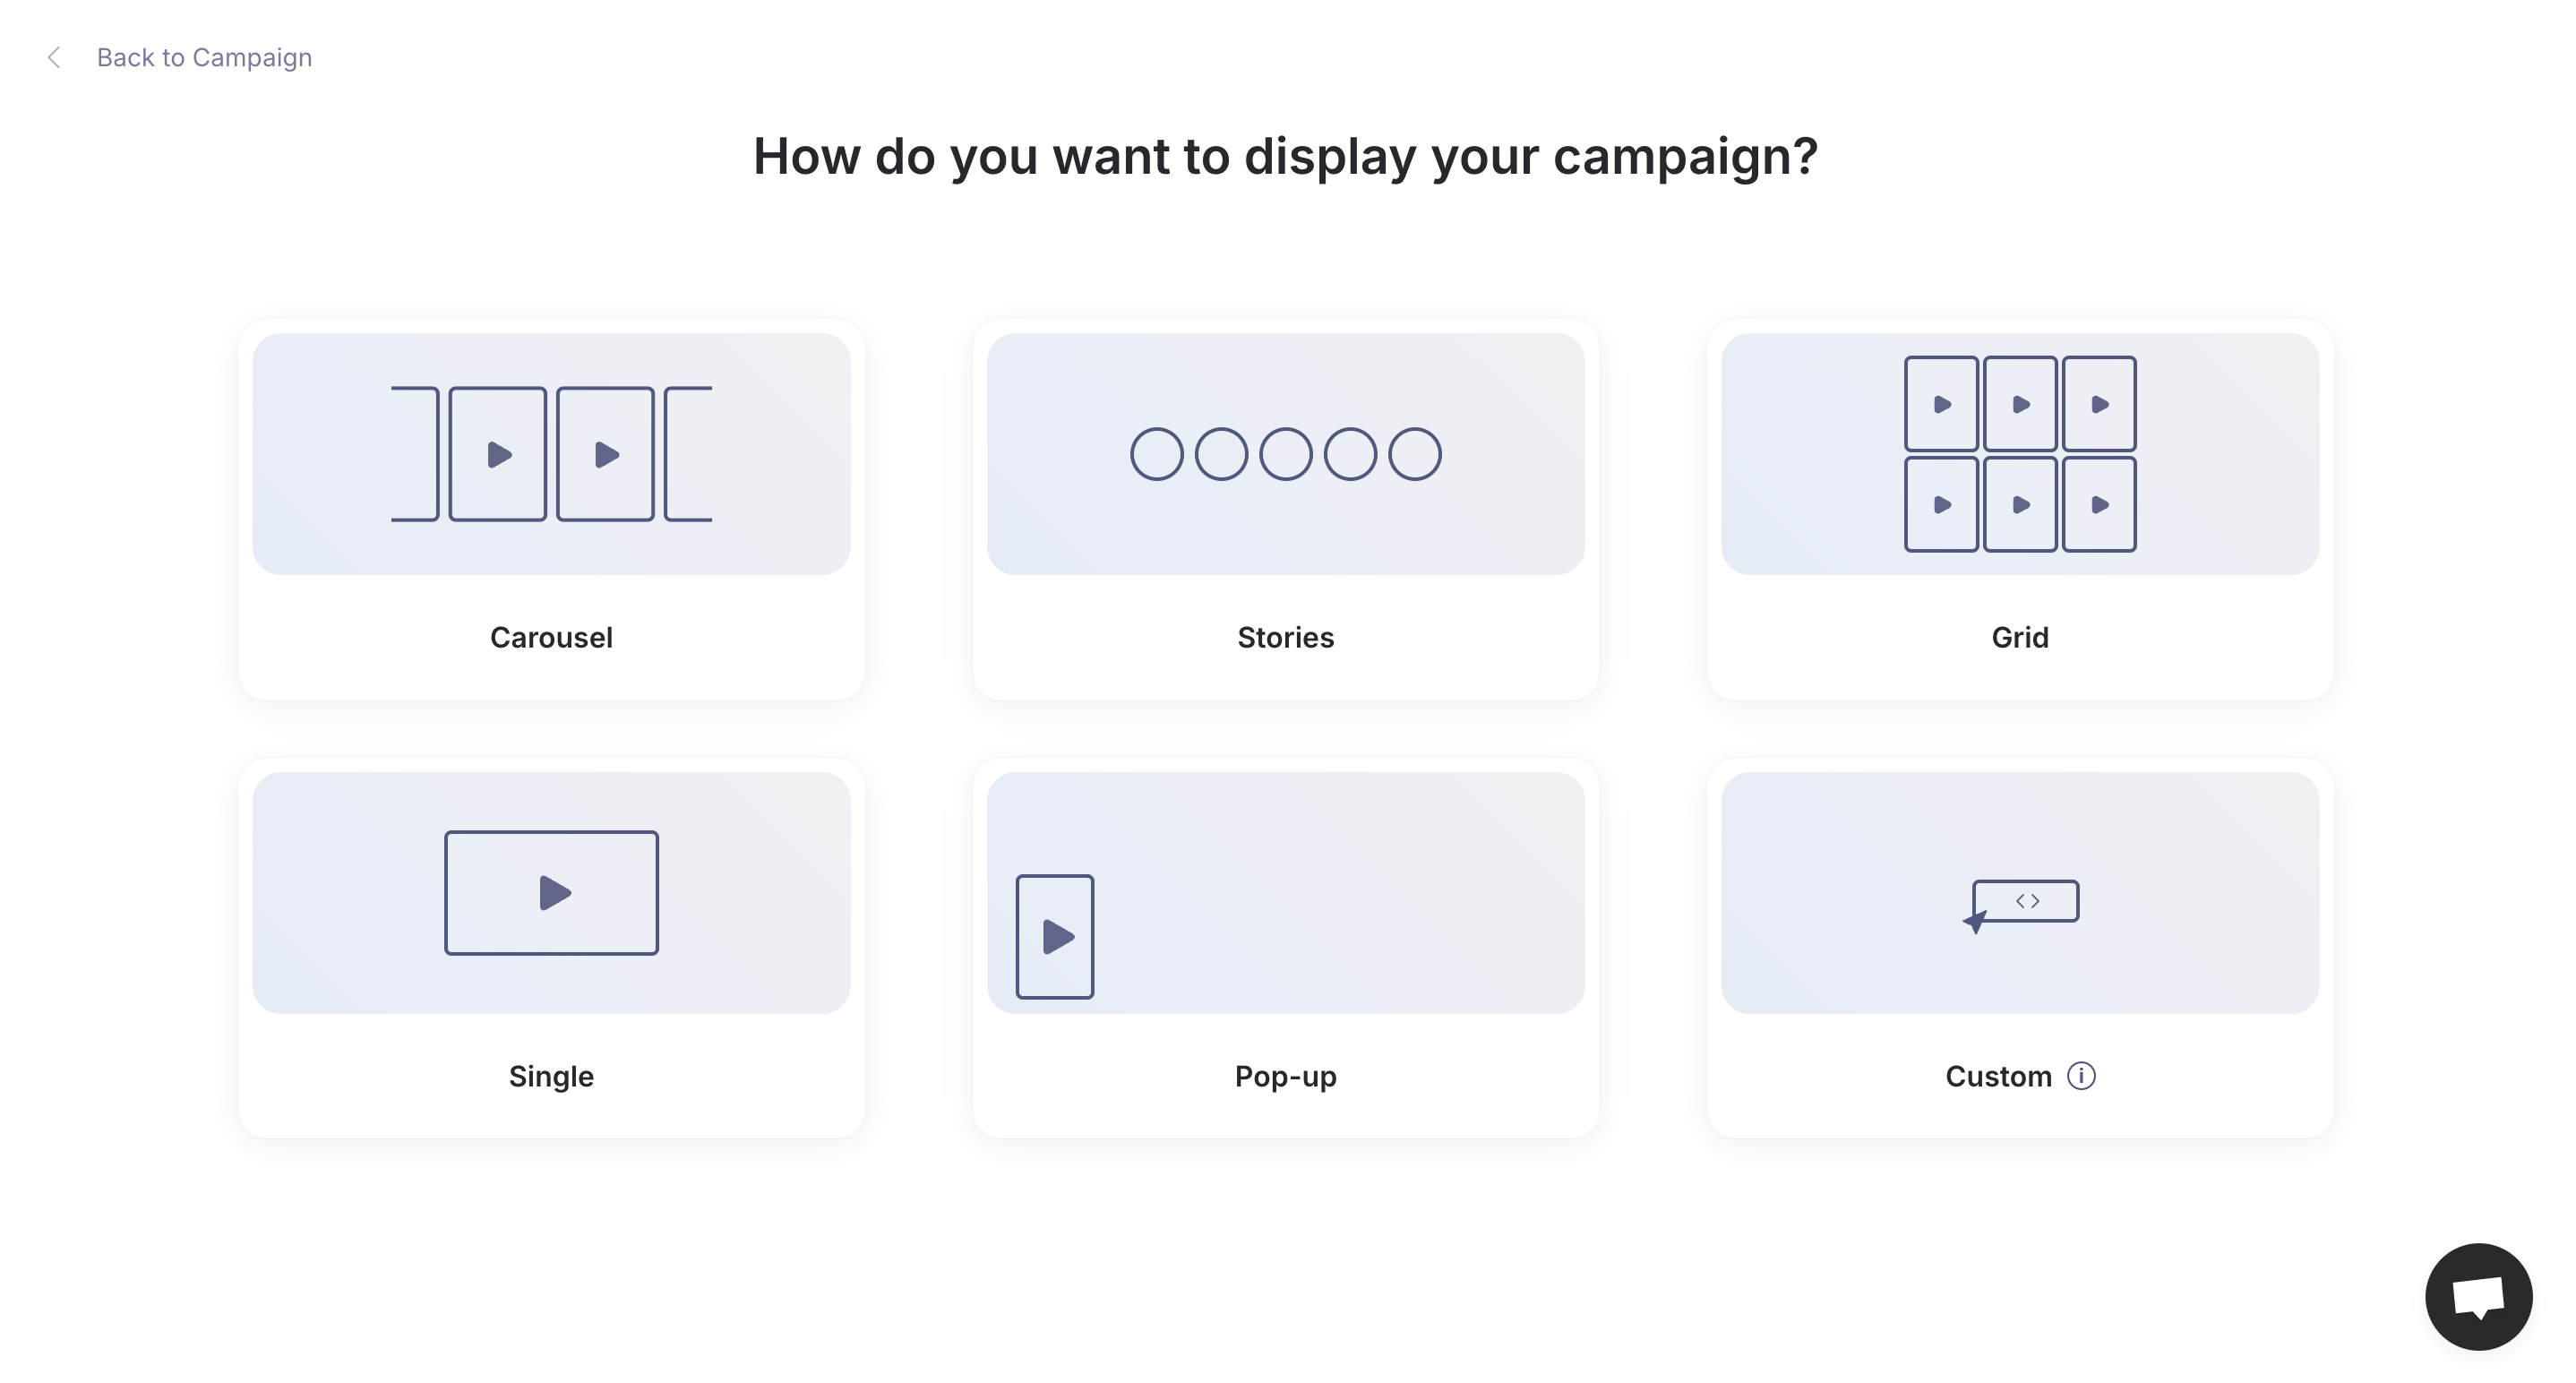
3. Customize Display Options: Choose from various layouts like carousels, grids, or shoppable formats to match your website’s branding and maximize engagement. You can easily adjust these settings to create a cohesive, on-brand look.
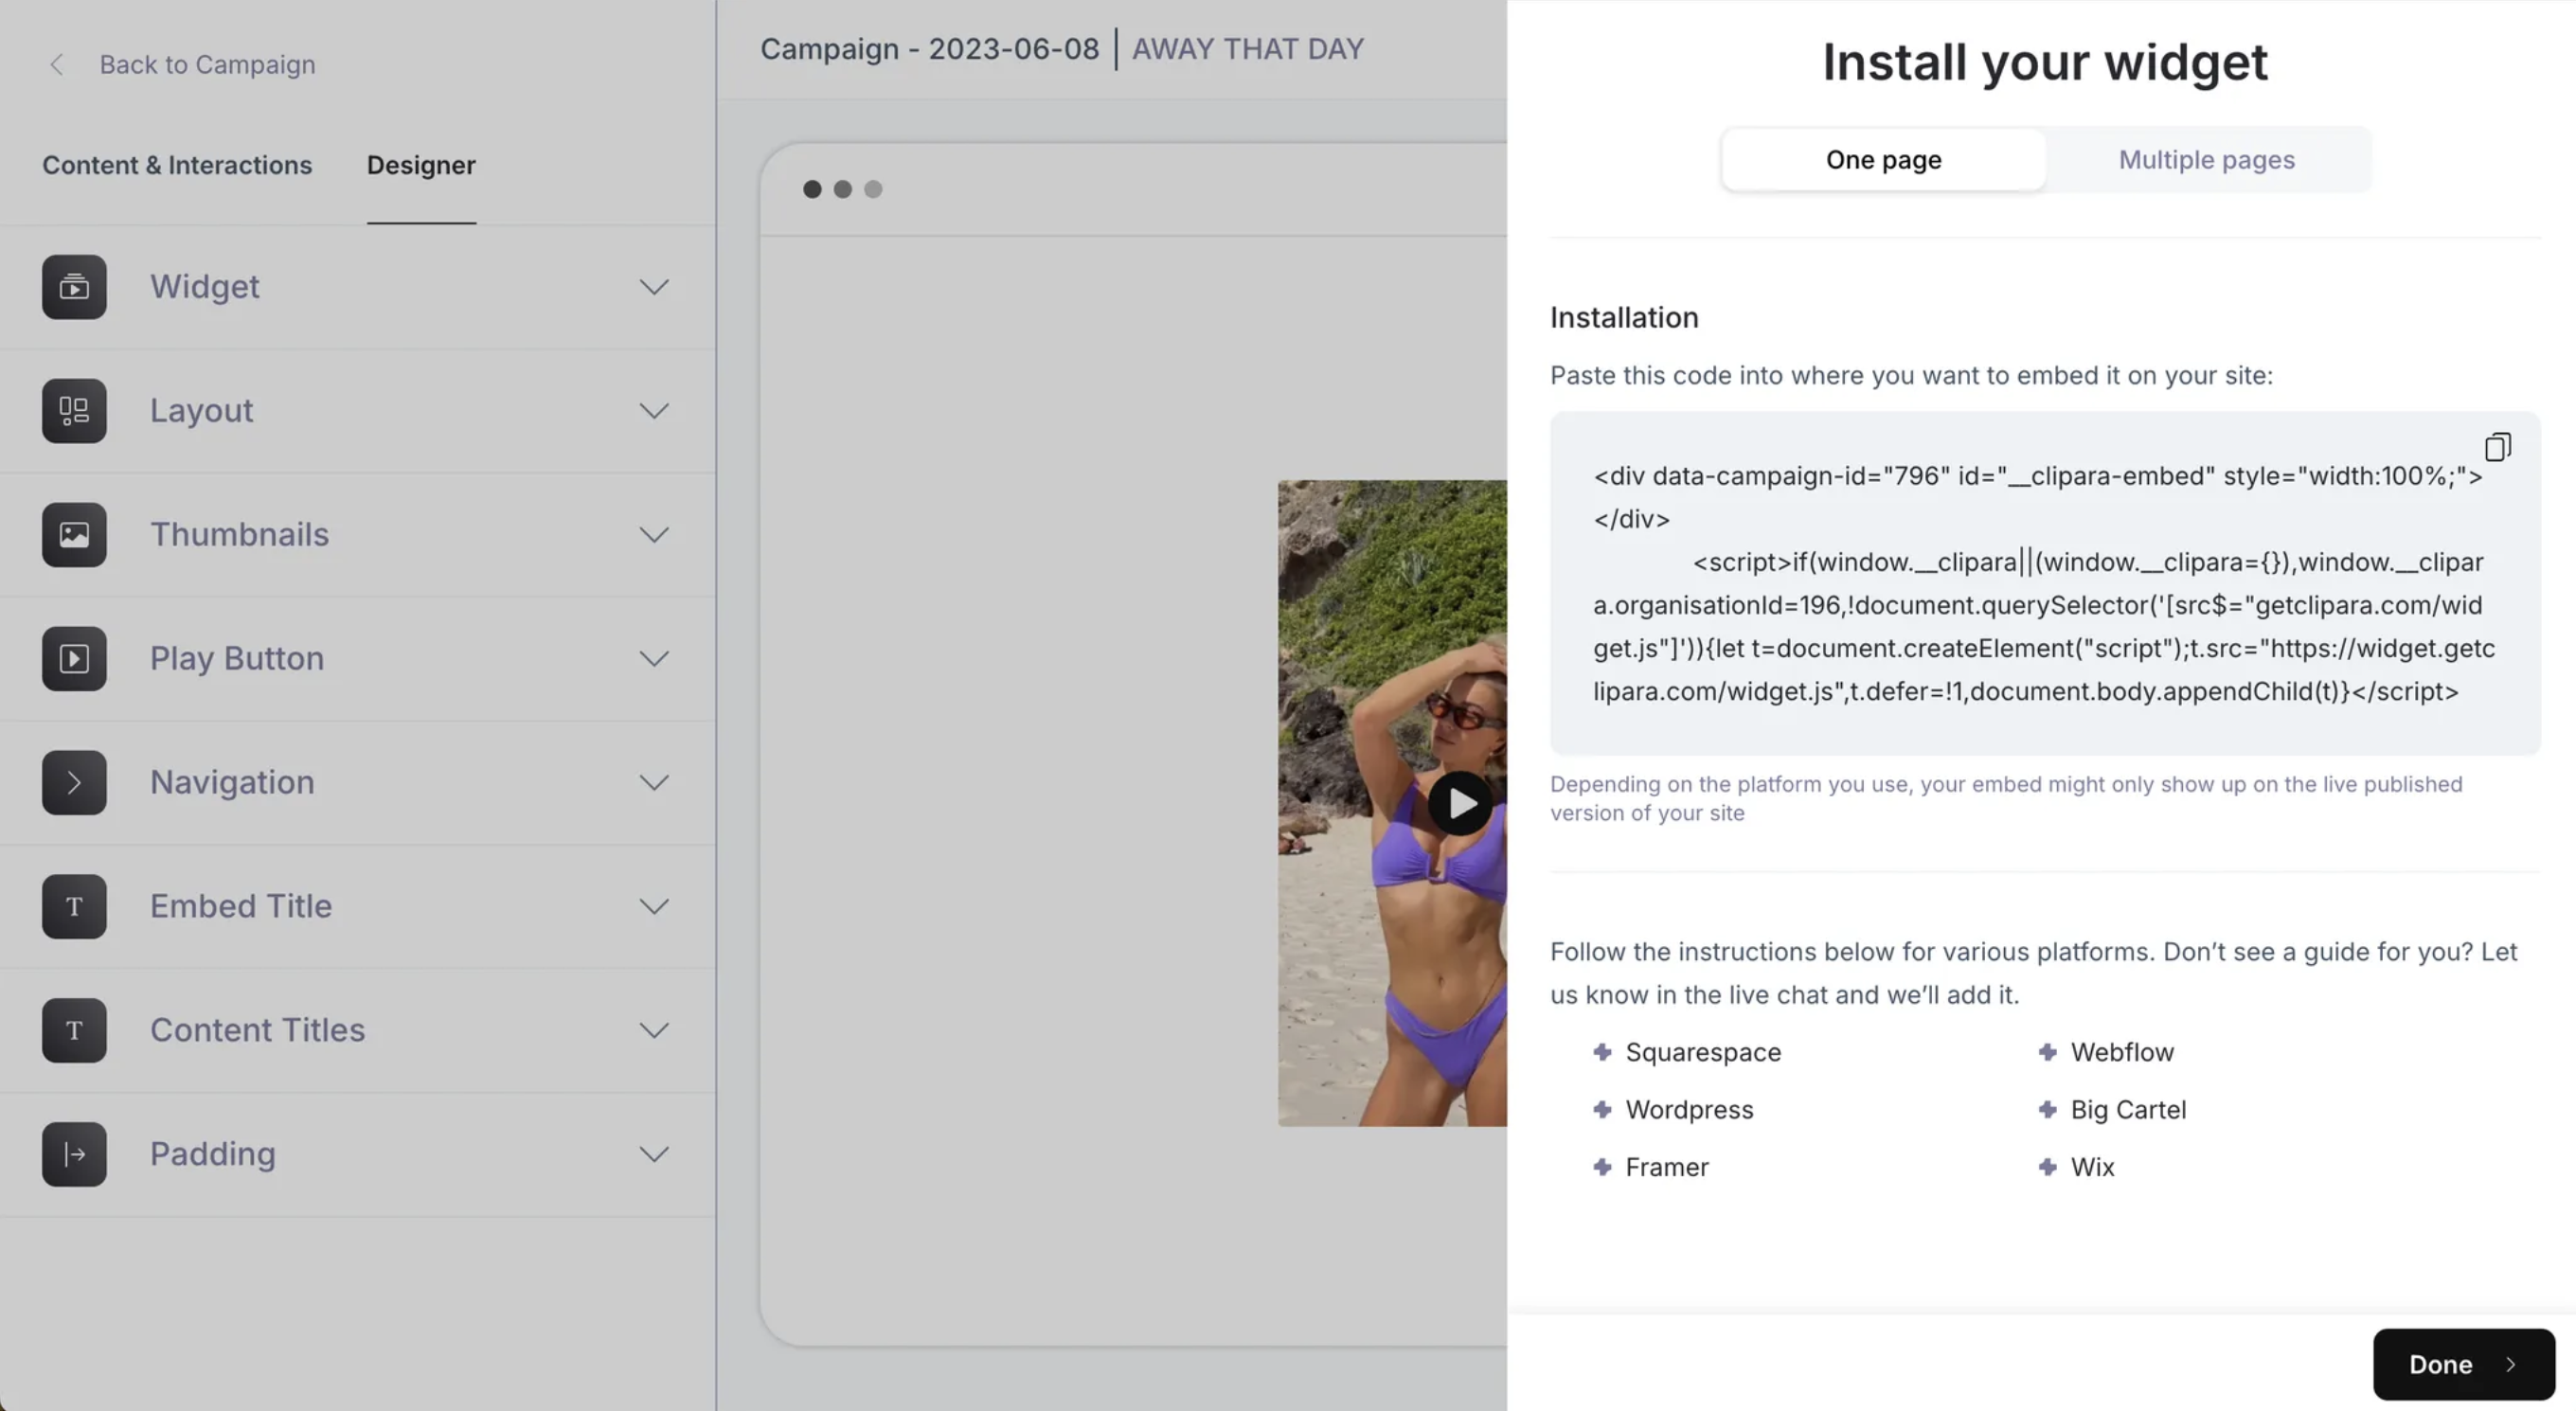
4. Embed Easily: Copy the provided embed code from Clipara and place it in your site’s rich text editor. Clipara takes care of the technical details, ensuring your videos load quickly and maintain optimal performance across devices.
Clipara Tip: Use the shoppable video feature to create a direct link between your product and the video content, increasing engagement and conversion rates effortlessly.
Clipara’s Unique Benefits
- Consistent Branding: Customise the look and feel of your video widgets to align perfectly with your brand without showing third-party logos or ads.
- Engaging Interactivity: Enable features like shoppable links and call-to-action buttons directly in videos, driving more engagement and sales.
- Lightweight Integration: Whether you’re running a blog, a Shopify store, or a business site, Clipara ensures a fast, fluid video experience that doesn’t compromise speed.
Best Practices for Compressed Videos with Clipara
- Keep Videos Short: Videos under 2 minutes tend to perform best in terms of engagement and load speed.
- Prioritise Mobile Optimisation: Clipara’s dynamic adjustments ensure that videos perform optimally on both desktop and mobile.
- Monitor Performance Metrics: Use Clipara’s analytics tools to track video engagement and make adjustments to maximise effectiveness.
Final Thoughts
Compressing videos is essential for maintaining website speed and performance, but directly embedding even optimised videos can still affect your site’s performance. Clipara solves this problem by offering a robust platform for hosting and displaying videos in a way that keeps your site fast, responsive, and engaging. Whether you’re running a Shopify store, managing a business site, or adding dynamic content to a blog, Clipara helps you optimise videos for a seamless user experience.
Elevate your site’s video content without slowing it down. Try Clipara today and see how it transforms your video strategy into a high-performance, user-friendly experience!


-min.avif)